Shopping list:
- Transfer Crayons
- Transfer Ready Mousepad
- Standard Iron
- White Paper (not glossy, computer printer paper works fine)
Let's get started!
How to Make Your Customized Mouse Pad:
This is an easy and fun tutorial that is easy enough for all ages to enjoy.
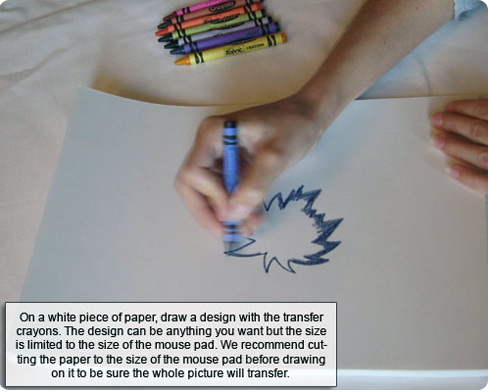
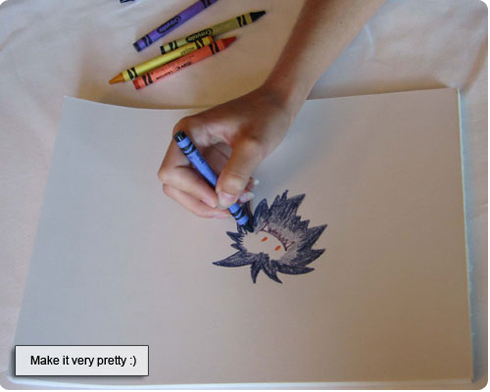
Step 1: On a white piece of paper, draw a design with the transfer crayons. The design can be anything you want but the size is limited to the size of the mouse pad. We recommend cutting the paper to the size of the mouse pad before drawing on it to be sure the whole picture will transfer.
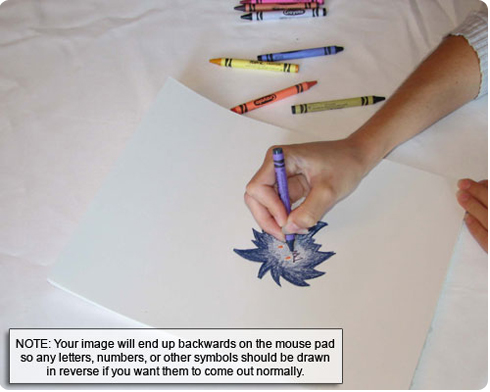
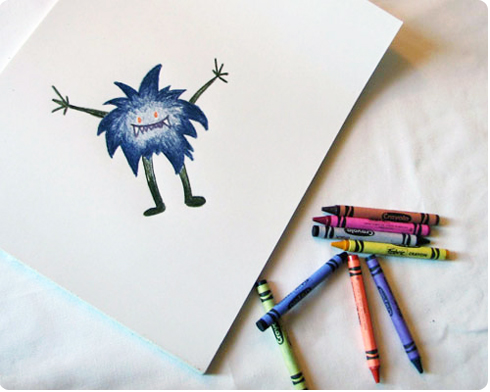
Note: Your image will end up backwards on the mouse pad so any letters, numbers, or other symbols should be drawn in reverse if you want them to come out normally.
Step 2: Place your design face-down on top of the mouse pad. As recommended on the Transfer Crayon's box, place a second piece of paper over the design and mouse pad to prevent scorching.
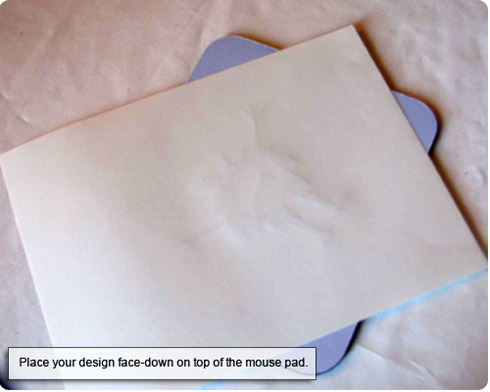
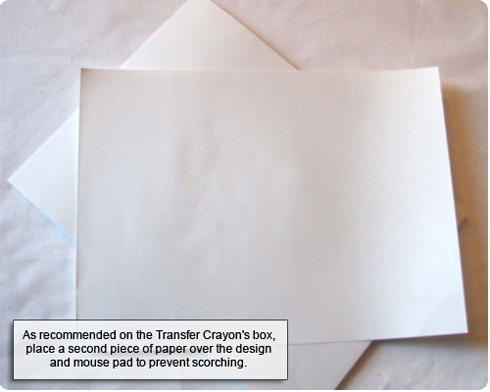
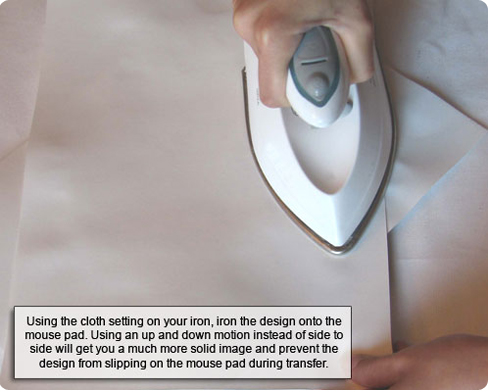
Step 3: Using the cloth setting on your iron, iron the design onto the mouse pad. Using an up and down motion instead of side to side will get you a much more solid image and prevent the design from slipping on the mouse pad during transfer.
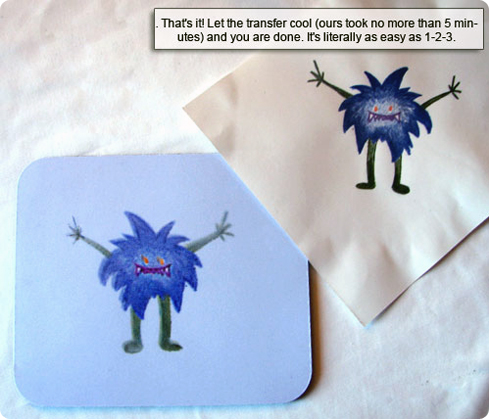
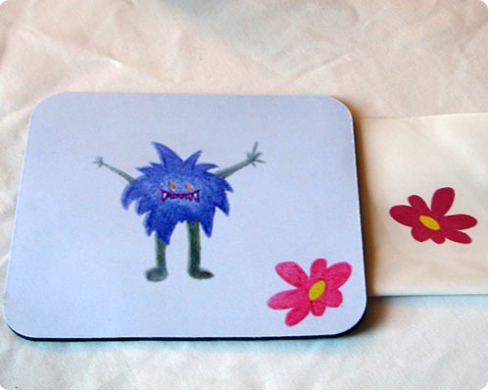
Step 4: That's it! Let the transfer cool (ours took no more than 5 minutes) and you are done. It's literally as easy as 1-2-3.
