
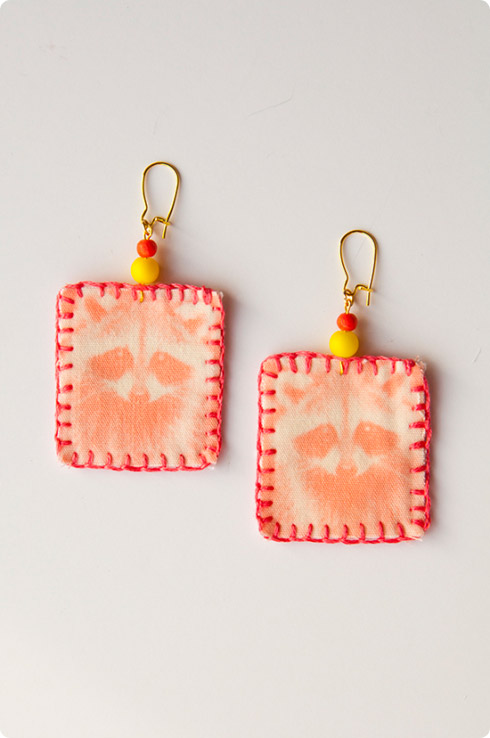
I don't know what it is about having short hair, but it really begs for statement earrings sometimes. Is that just me? I don't know, I guess I feel a little extra sassy or something, and I want something that says Hey! I'm a fun person! I know that not everyone is a statement-earring kind of gal, but I definitely believe that everyone has a need for self-expression in what they wear. Just ask my hubs about his quirky tees, the man wants the world to know without a shadow of a doubt that he is a nerd and is absolutely beaming with pride about it.
I'm new to Jacqaurd's SolarFast (sunlight developed dye), but have been having a blast playing with it. It is seriously cool stuff, and I have a ton of projects I want to do with it (especially gifts! You can use photos in your printing, so there's tons of potential for awesome inside-joke/shared memory/ personalized projects) Because I wanted to get a handle on the medium before I jumped into any big projects, I decided to begin with these statement earrings because it would allow me to trouble shoot without using any significant yardage or dye.
Shopping list:
- SolarFast Dye
- SolarFast film and inkjet printer (there are other options if you only have a laser printer I'll talk about it later)
- SolarFast wash
- Some white cotton fabric (only a bit!)
- Bright colored embroidery floss
- Bright colored beads
- Earring findings: hooks, jump rings and eye pins
- Pliers
Let's get started!
Okay, let's talk about the printing process. First, watch this short video to familiarize yourself with the process. To begin you'll need to choose and image and create a negative. *In photoshop or other photo editing software, you'll need to first make it black and white, and then invert it (both options in the adjustment panel). Images with really high contrast do best (you want the darks black and lights white). If you need to, knock up your contrast just a tad and bring down your brightness levels a bit until you're happy. Important! **Once you print (print on the Matte side of the film!) you want the dark parts of the image to be completely opaque - meaning if you hold it up to the light you can't see any light shining through those parts; conversely the white areas will be completely transparent and then a variation of opacity for all the shades in between. You can adjust your printer to let out a heavy layer of ink, or you can double up your transparency which is what really worked for me (one layer was not opaque enough and I was getting just solid colored squares).
*If you have no photo editing software, you can make these adjustments in your printer settings as well, mine said something like print in black and white and make a negative to invert. Also, if you take your image to a print shop they can easily make these adjustments as well.
**You must use an inkjet printer with the Solar Fast film because a laser printer will melt it. I don't have an inkjet so I went to a print shop (OfficeMax) and had them print on a transparency. Transparency will work but sometimes has problems with not being waterproof and the ink bleeding. It worked fine for me, but I was told that that can be an issue.
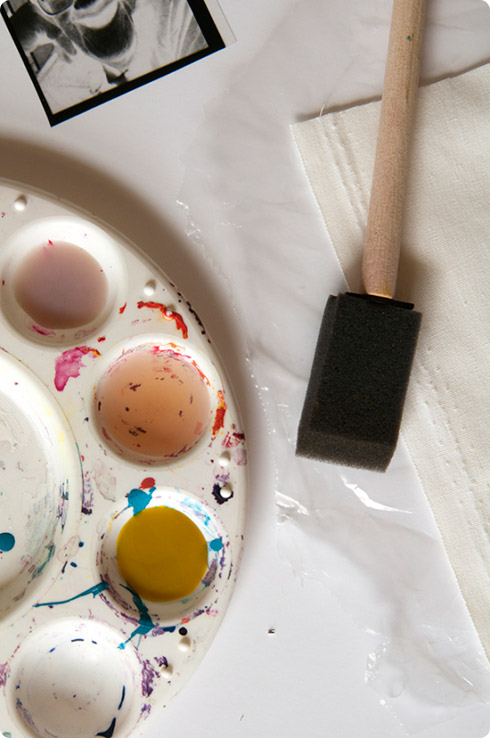
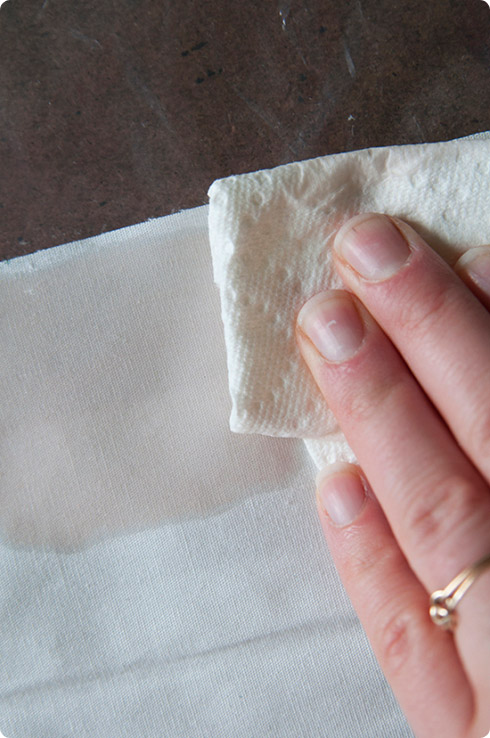
Once you get your negative, the process is simple. Working on a non-absorbent surface (a clip board with a bit of plastic or plastic wrap worked great), paint the dye over the area that will be printed with a foam brush or sponge. You can tape it off or just go for it, whatever. Once you have a fully saturated area (enough that there is no dry spots), take a paper towel and really blot the heck out of it. It will be damp still, but you don't want it to be wet feeling - you want to remove the excess liquid, it will make a clearer print. Put your negative down (shiny side which is the waterproof side face down) and secure ( a sheet of plastic glass and clips or something similar can be really helpful, you just don't want that negative shifting at all).
Take outside and expose. Noon is the best time, but if you're a little late or early(between 10-3 is best) just prop up your print so that's it's angled towards the sun. Exposure time varies depending on the color you use and the weather, but my orange dye took only about 5 minutes to expose. Exposure time is important, it was one of my first mistakes - my prints were almost solid colors and barely discernible and it was partly due to over exposure at 20-30 minutes. With my print I discovered that even 10 minutes was too long. If you're doing a larger scale project, I suggest doing a small test print to figure out optimal exposure time.
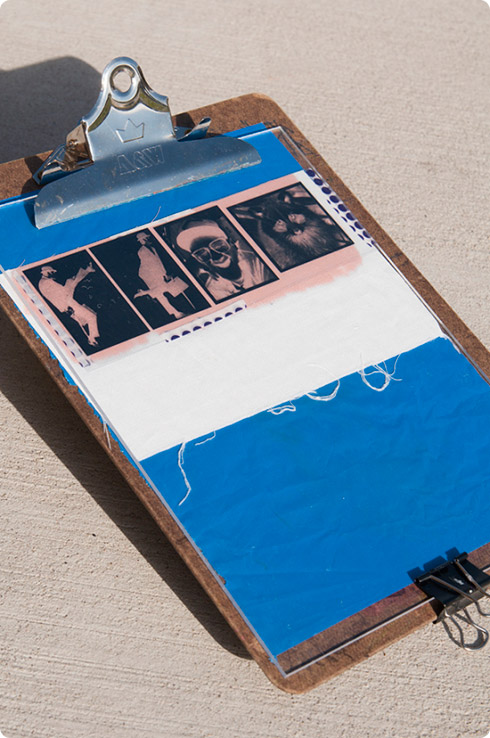
Troubleshooting: The top row here didn't have an opaque enough transparency, and the bottom piece was just a bit overexposed.
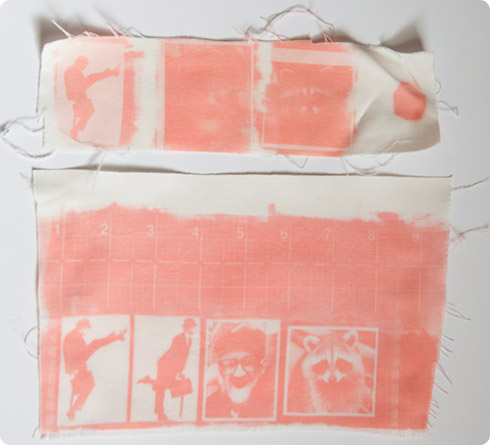
Rinse it immediately after bringing it in so that you remove any non-exposed dye! Rinse it with running hot hot water and wash with the SolarFast wash. Machine washing is best, but because I was just doing such small pieces I hand washed vigorously.
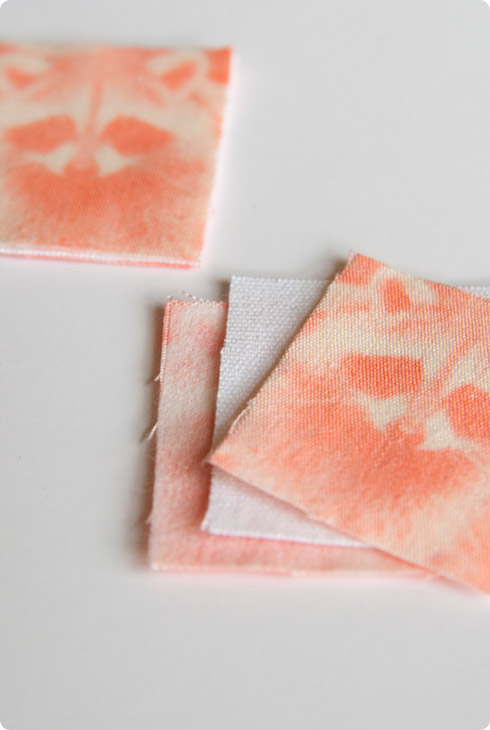
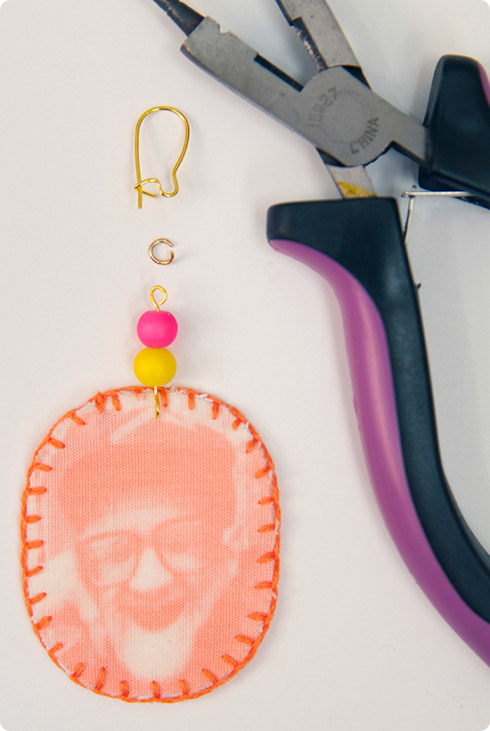
To assemble the earrings I made two prints for each earring (front and back),cut into my desired shape and applied some iron on interfacing to the back. I then sandwiched some thicker canvas fabric in between my printed fabrics and glued together with a glue stick.
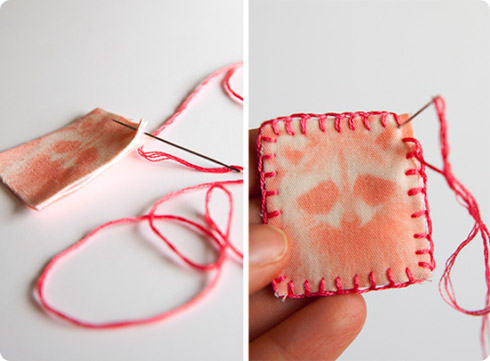
Blanket stitch with your embroidery floss around the edge (threading your tails to the inside),
and then poke an eye pin through the top.
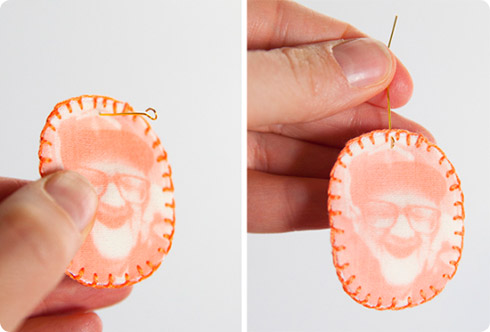
Add a couple bright colored beads, and then snip off excess wire and bend the top into a loop. Attach a small jump ring then attach that to an earwire.
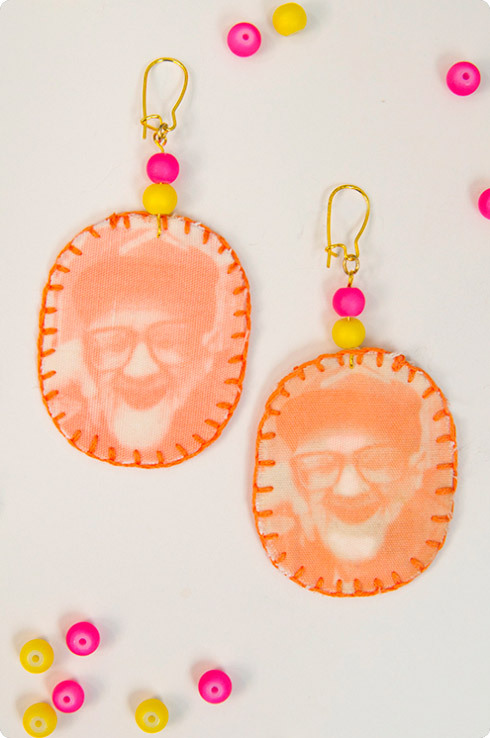
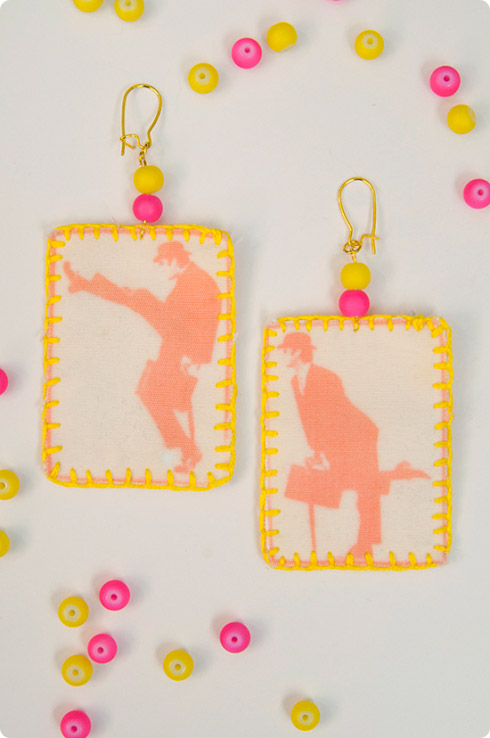
(photo credits: the old man is from an old issue of National Geographic, the Silly Walker is of course from Monte Python sketch, and the racoon is just from our friend Google)
Pretty cool stuff, right? Every time I brought in a print from outside, that moment of reveal was always so thrilling - it brings in this element of surprise and anticipation to printing that really kept me on the edge of my seat. It's like extreme crafting, complete with that adrenaline rush. I can't wait to play around with it more, I'm thinking sweaters, pillows, coasters, art prints on fabric, the list goes on. I think it's gonna be a SolarFast Christmas.
BUT. I absolutely need to stop crafting and start packing now, we move in just a couple of weeks! Man, I just can't make myself get in gear with moving, I'm dreading it so. Depending on how quickly we get moved and then settled, I'm predicting a pretty slow holiday season here on the blog.
This tutorial was provided by Miriam Tribe.


